Every screen, before, during and after.
Thirteen screenshots, in the order you meet them. No sign-up needed to look, and setting one up really does take about four minutes.
-
 Before
1
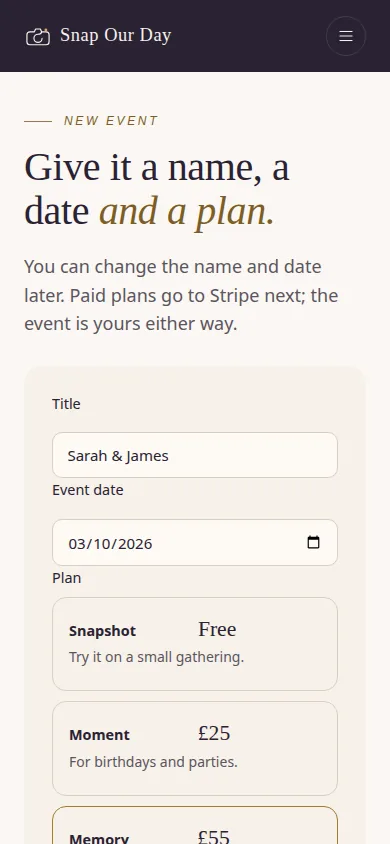
Name it, date it, pick a plan
Two fields and a choice. Your event site is live at its own address before you have finished your tea, and you can change any of it later.
-
 Before
2
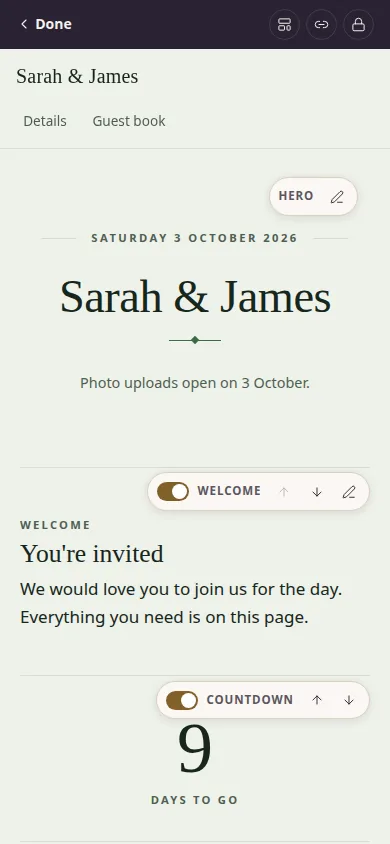
Edit the site on the site itself
No separate editor to learn. Open your page, and every section has a switch to turn it on or off, arrows to move it, and an Edit button.
-
 Before
3
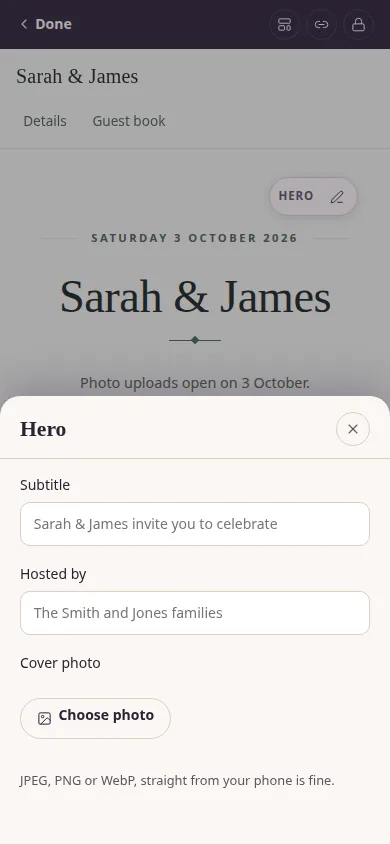
Change a section, see it change
Tap Edit and the section's fields slide up. Type, and the page behind updates. Themes are locked palettes and type pairings, so it stays coherent whatever you write.
-
 Before
4
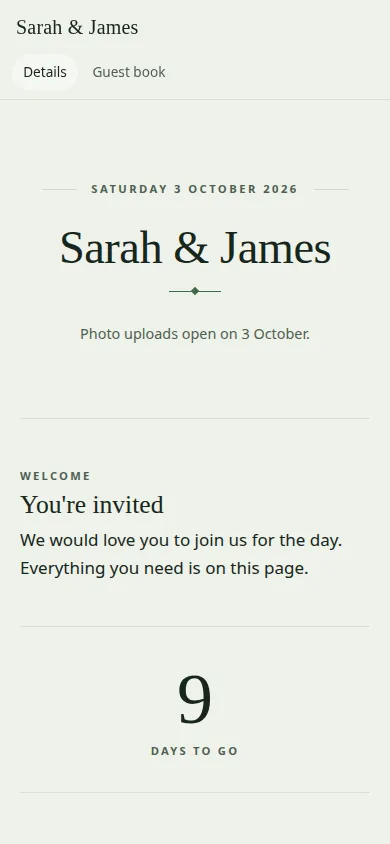
Send one link
Guests get the venue, the timings, what to wear, where to stay and the RSVP on one page, in your theme. No app, no account, no password.
-
 Before
5
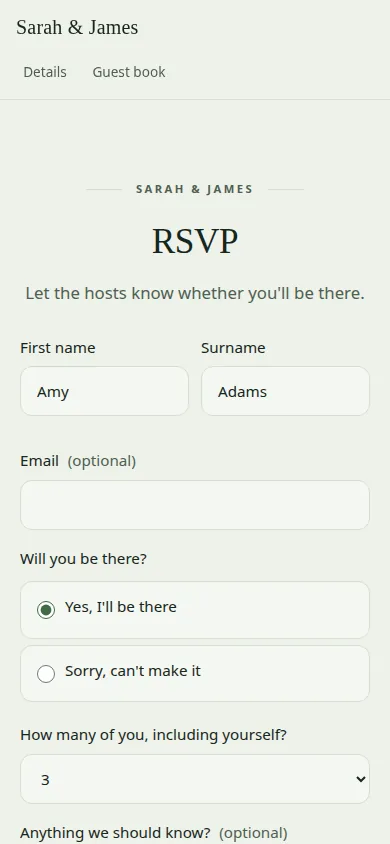
Replies with names, not numbers
Guests say who is coming and name them, so you get a guest list rather than a headcount. A note field catches the dietary requirements.
-
 Before
6
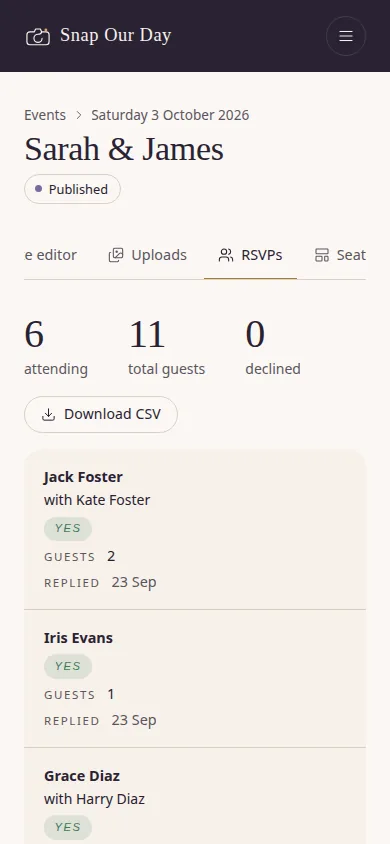
Watch the replies land
Every reply on one screen with a running headcount, and the whole lot as a spreadsheet when the caterer asks.
-
 Before
7
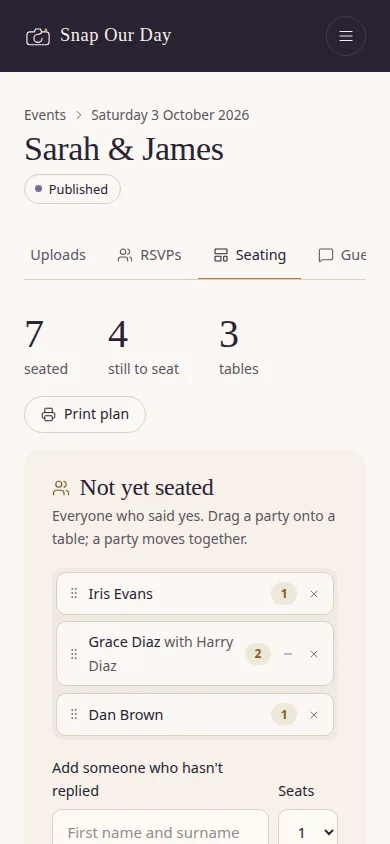
Seat them by dragging
Everyone who said yes becomes a card. Drag it onto a table; a party moves together, or unlink it so the best man sits up front and the children sit together. Tables turn red when you overfill them.
-
 Before
8
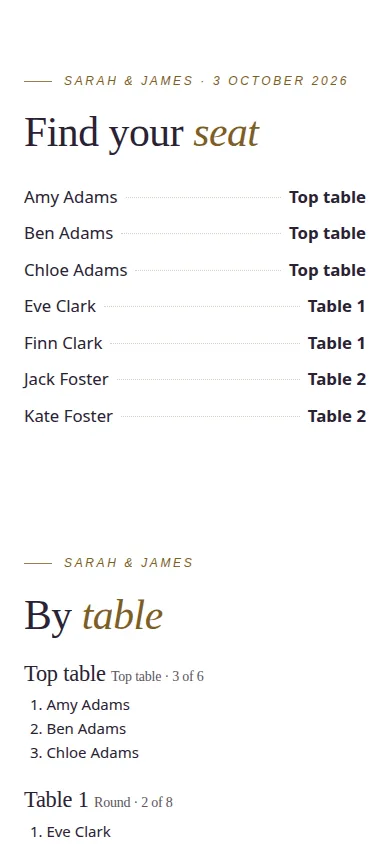
Print the board for the door
A find-your-seat list in surname order, and a by-table list for the venue. Print it, or save it as a PDF and send it on.
-
 During
9
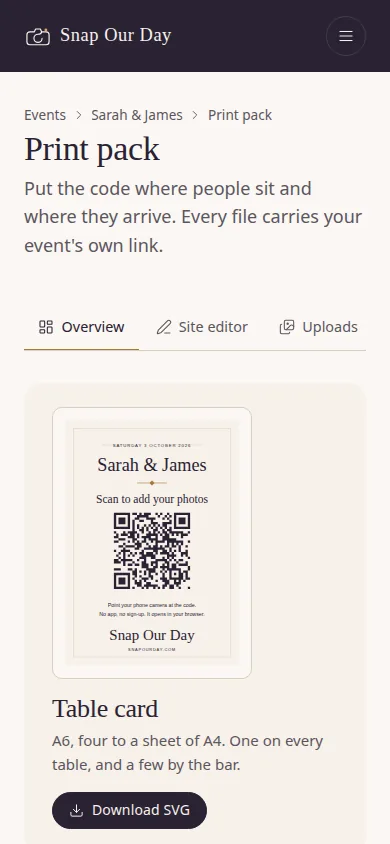
Print the code
An A6 table card, an A4 door sign, or the bare QR code for your own stationery, each carrying your event name and date.
-
 During
10
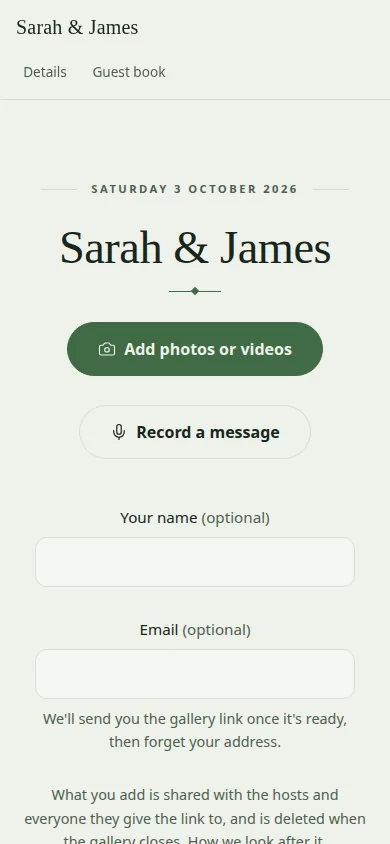
Guests scan and add
Their camera opens in the browser. Photos, video, even a 60-second voice message. Nothing to install and nothing to sign up for.
-
 During
11
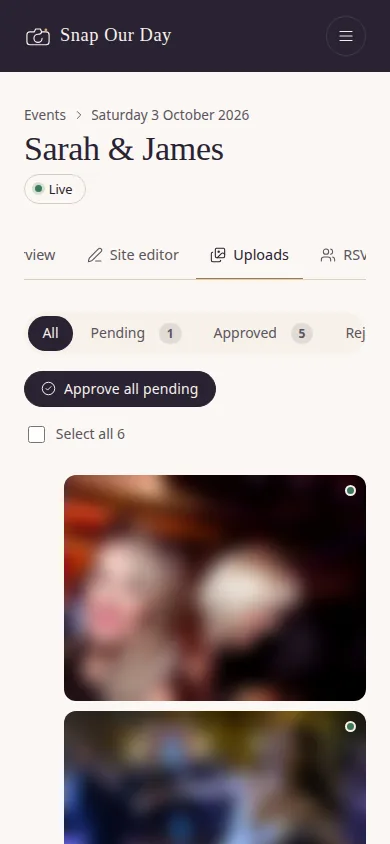
Approve between courses
New uploads wait in your queue. Approve one at a time or all at once from your phone, and nothing appears that you have not seen.
-
 After
After12
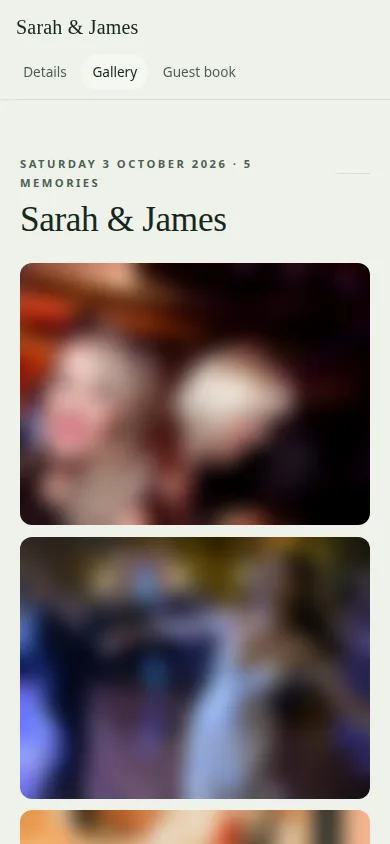
The same link becomes the album
The morning after, the address everyone already has opens the gallery. Browse, download a single photo, or take the lot as a ZIP.
-
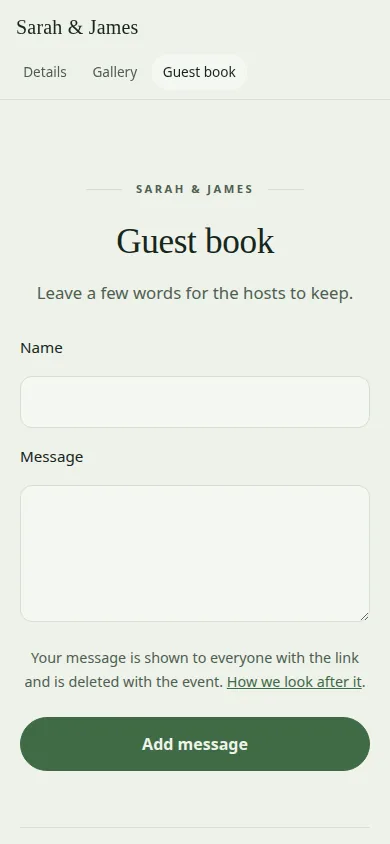 After
After13
And the messages they left
Guests write something for you to keep, and it stays with the gallery for as long as the gallery does.
Four minutes to the first one.
Start free, and pay only when you want the plan that covers your day.